
This is the ongoing saga of our experiences building a beautiful Modern Chateau in Atherton. Live the process vicariously with us as we do this together in real-time…
Part 6: Sealing the Envelope
January 10, 2022

Building a Modern Chateau
Part 6: Sealing the Envelope
Construction of our modern Chateau in Atherton is racing into the final stages! We’ve bought the land, designed the project, poured the foundation, framed the house, and installed all the wires and pipes and ducts. But in this rip-roaring episode, we’re going to build the lovely barrier that separates the warm and stunning interior from the wildlands of the exterior. When we are done, the “building envelope” will be sealed. It is the messiest, dustiest, muckiest stage of residential construction… not for the faint of heart or the clean of clothes. But you, dear reader, are made of sterner stuff. Onward!
We passed our “rough trades inspection” on October 19th, 2021, meaning that the sheriff is satisfied that all roughhousing and carousing is over, and all patrons are passed out in the saloon or safely back home.
Actually not. It means that the building inspectors from the Town of Atherton approved the safety and code compliance of our plumbing, electrical, HVAC systems, and furthermore think our framing is good. The internal organs are proclaimed acceptable; let the skin be added!

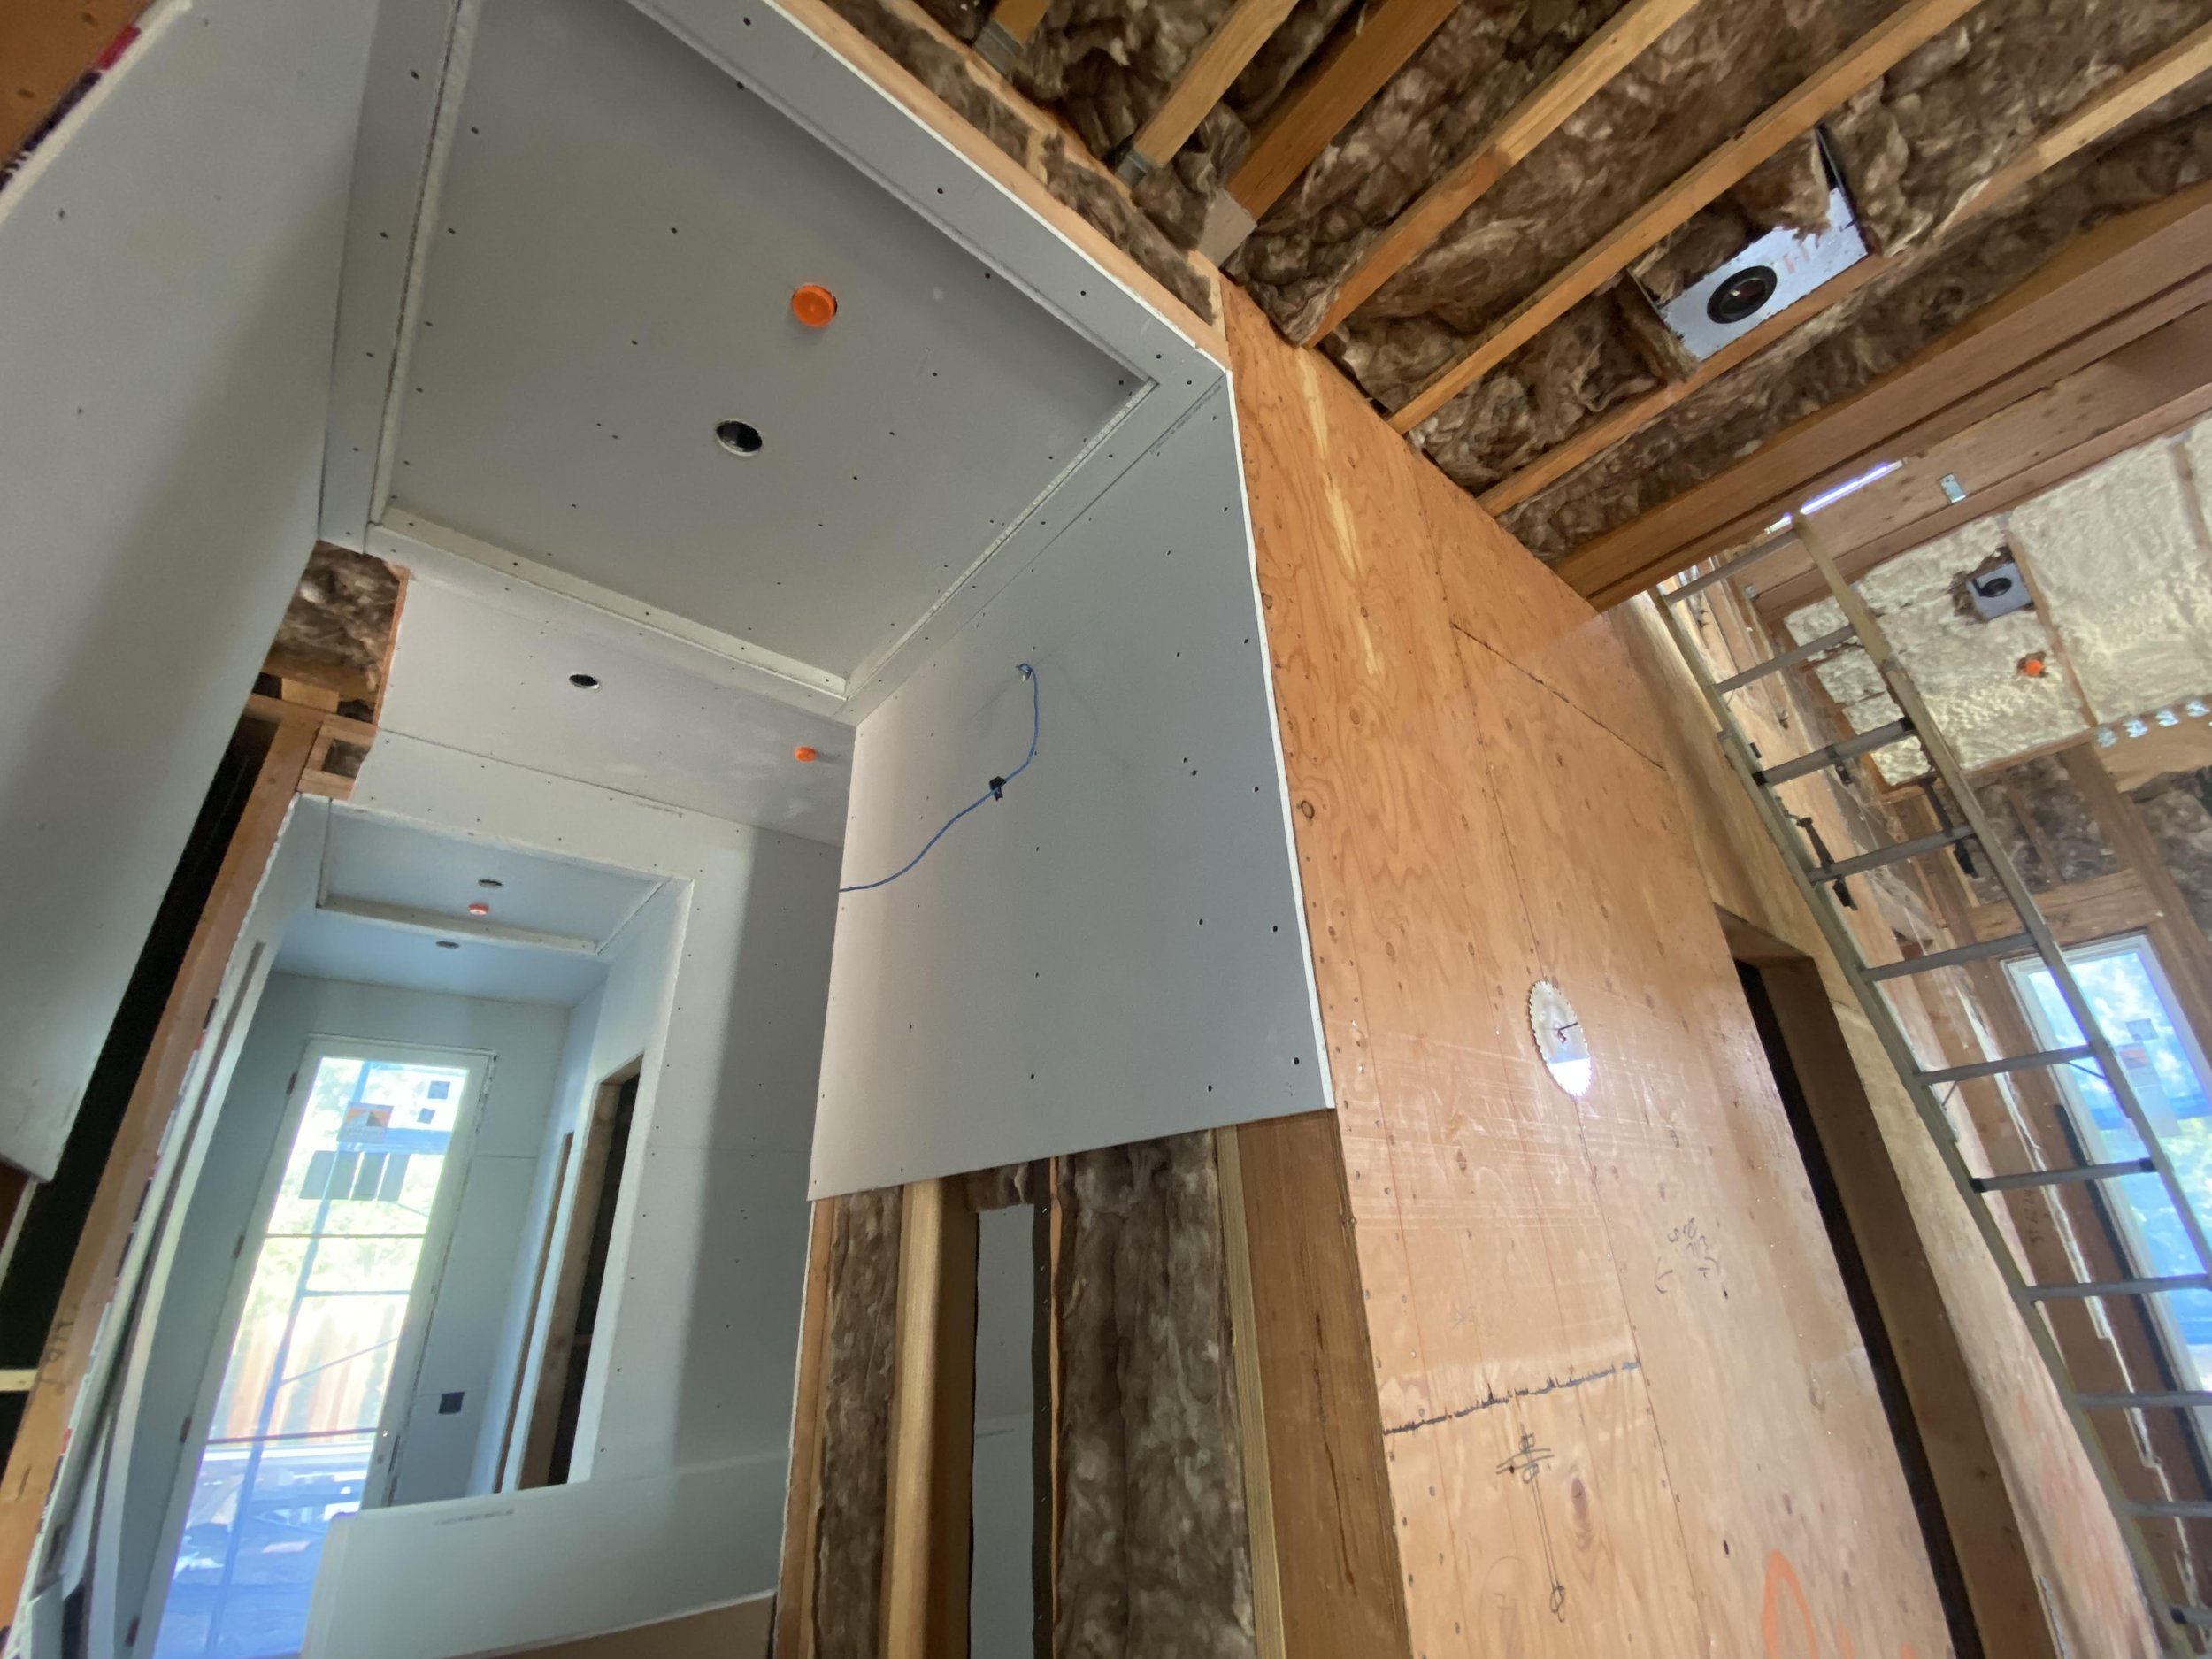
Spaceship docking port. Future site of the stairwell. Well insulated for either use case.
Insulation
Before we add drywall or stucco or roofing, we fill up every nook and cranny between the framing with insulation. On the inside of the roof, we spray special foam up inside the rafters. On the exterior walls we’ll use fiberglass rolls. Even interior walls and ceilings get filled up… not so much for temperature insulation as for noise absorption. All those condensate lines and water supplies and air returns and electrical cable that were inside the walls? Smothered and buried now. We better have done all that correctly!
Windows and Waterproofing and Roofing
One billion years ago, when we got Planning approval for the project, the size and location of the windows became locked in. In a negotiated truce between the Town (“don’t peep into someone else’s bedroom”), the developers (us; “Stick to standard sizes if possible, to save costs”), and our design team (“if we do this it will look incredible”), everything got specified down to the inch. While the foundation was being poured, roughly 100 windows were ordered (lead times can be crazy), and now they arrive on site and get lovingly escorted into an ever-so-slightly-larger square wooden hole where each one belongs.
At the same time, a layer of waterproofing wraps the house like a Gore-Tex base layer on a mountain climber. Just like nice hiking gear, the waterproofing is to be a moisture barrier to outside liquid, while letting any moisture from the inside escape out. Because water damage is the easiest way to lose money on a large investment like a house, skimping on your waterproofing is like shopping for day-old sushi, or skimping on your cardiac surgeon: nothing good can come of it.
Where the windows go in is logically a weak point in our hydrophobic armor, so a variety of clever techniques are used to seal it all up: flashing (metal flaps that overhang a potential opening), caulking (plug up a hole with goop), and common sense (water drips down, so layer things properly) are our best weapons.
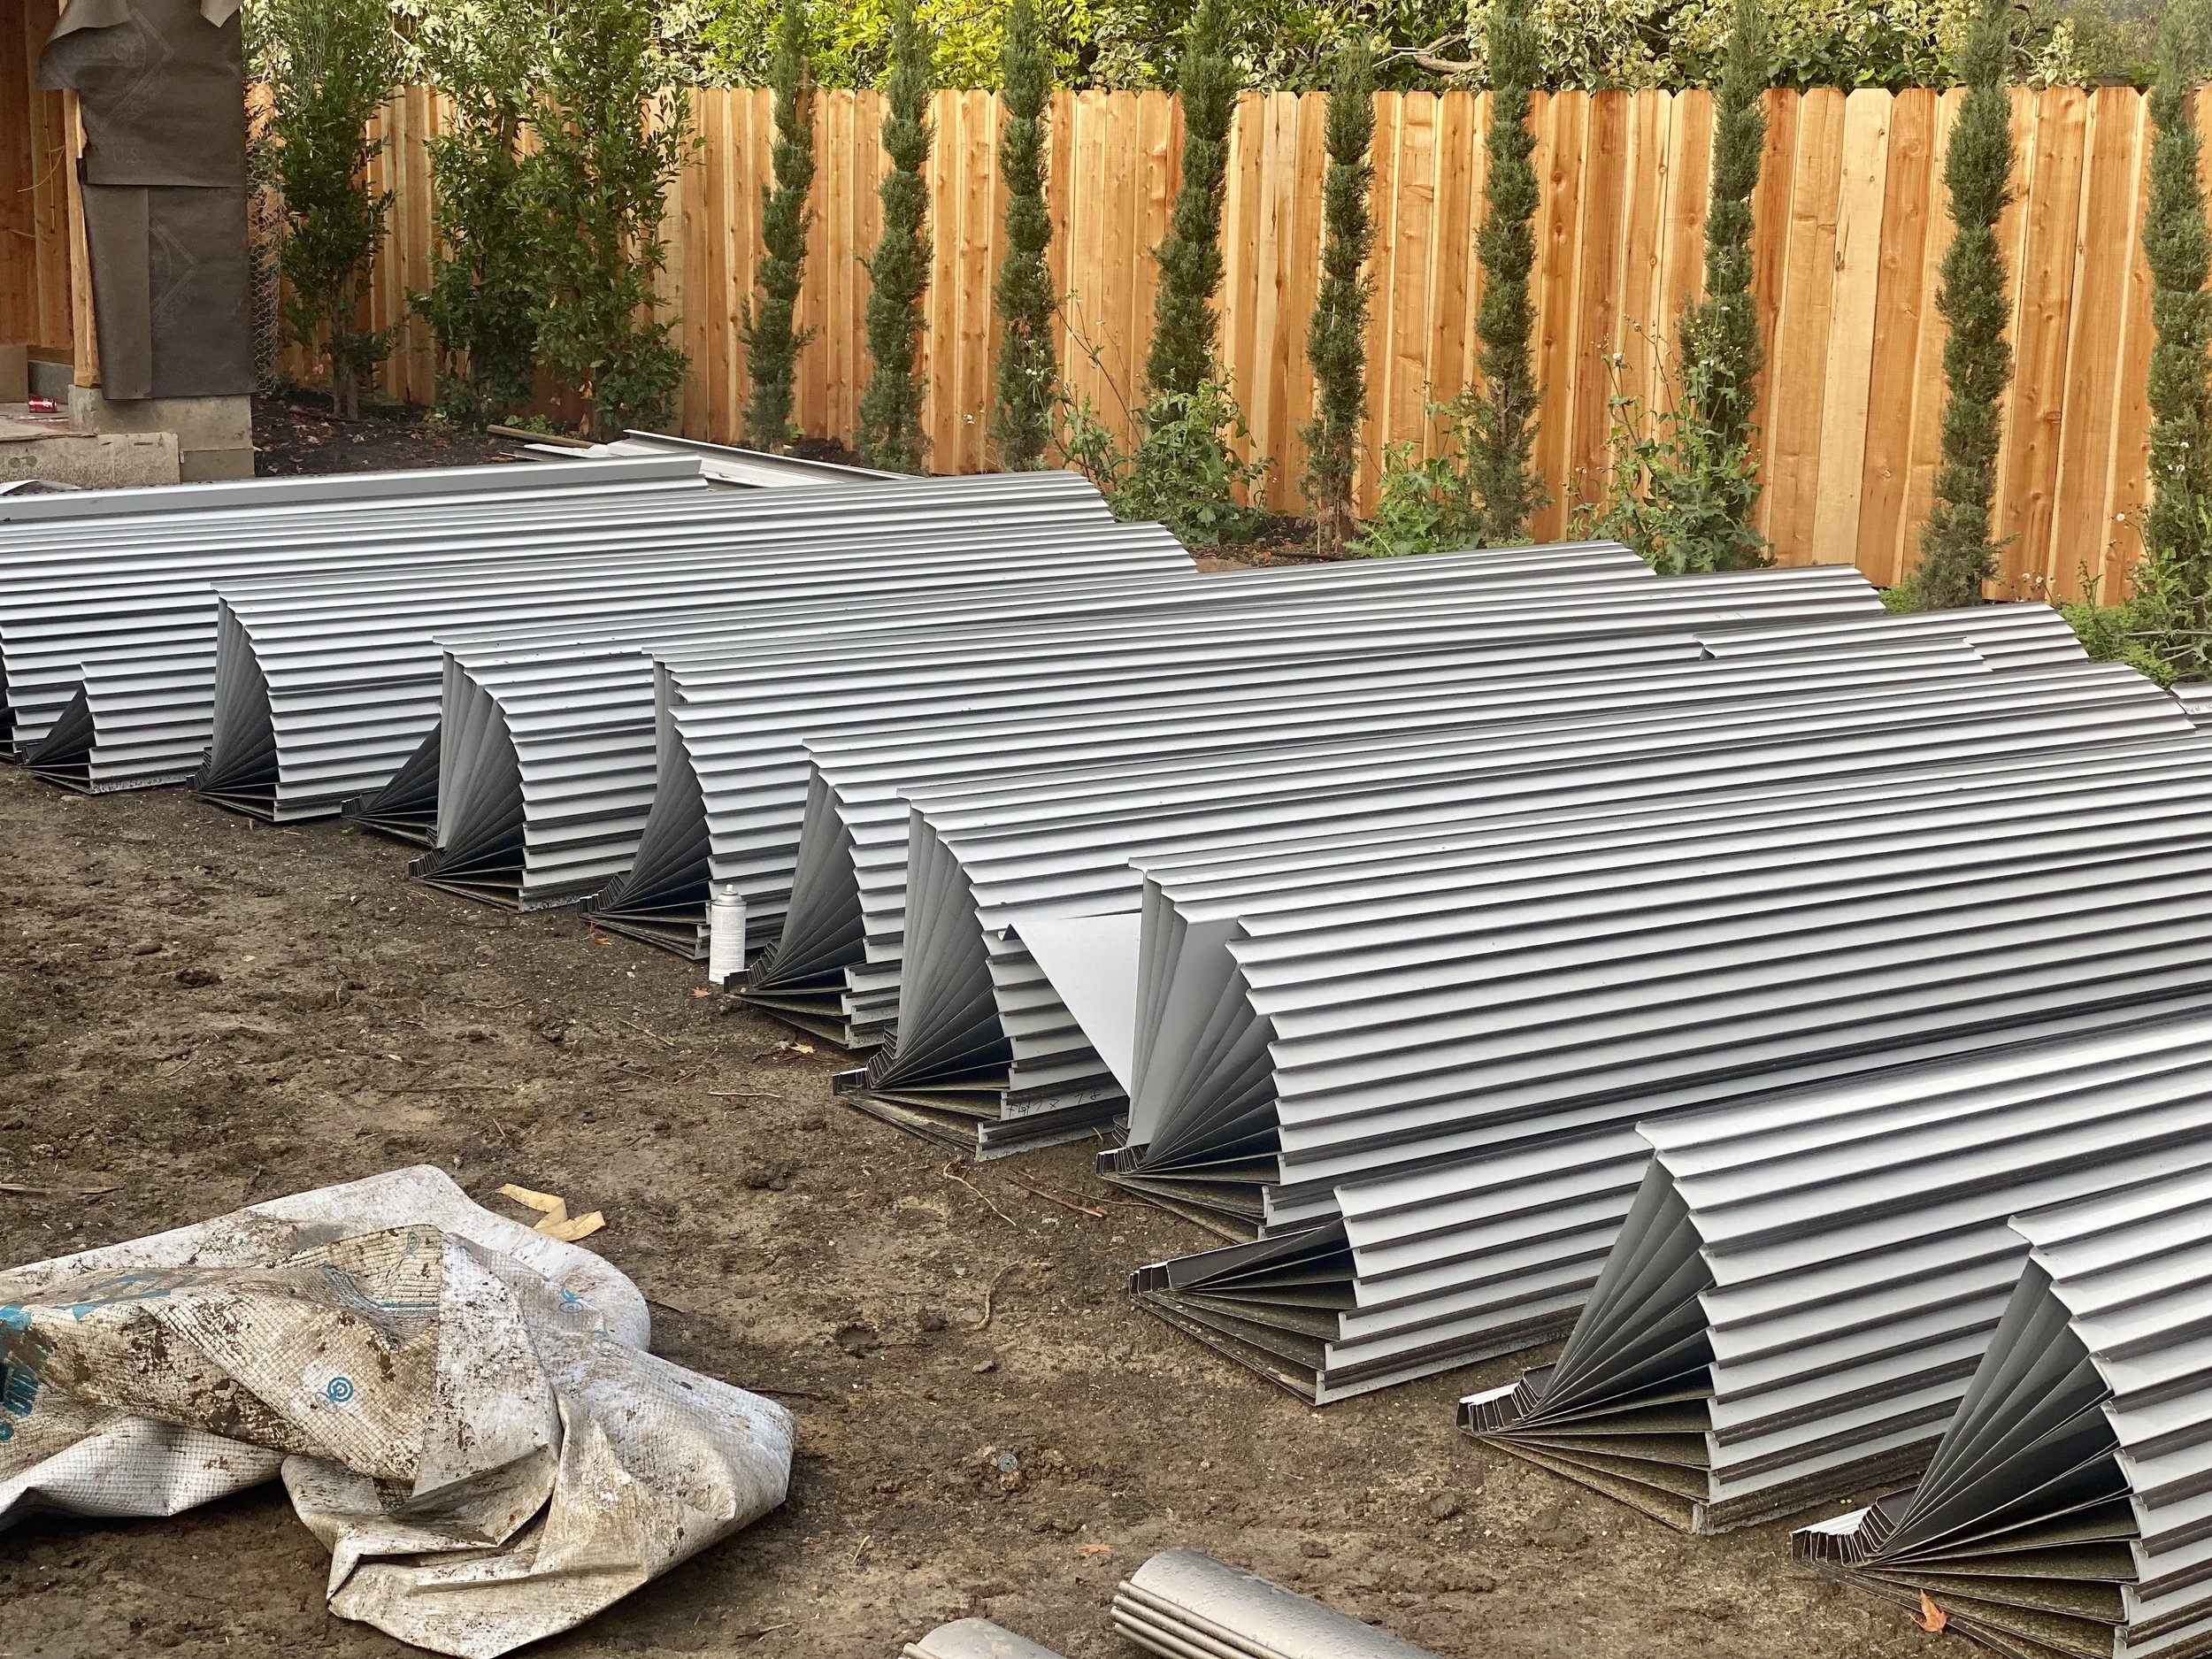
Standing seams loafing about

Roofing standing proud
Our roof waterproofing is miraculous stuff, but it’s not tough, and degrades in the sun. Enter the roof itself! This design calls for a “standing seam” metal roof, which is very “in” these days. Truckloads of thin metal slats appear onsite, and are hauled into position by incredibly skilled and fearless individuals who connect them all together while on an angled roof 60 feet up. The “seams” you eventually see from the street are literally where the thin metal strips hook together. Metal roofs look great and last twice as long as the more common “composition shingle” roof. Our modern chateau even has a cool negative space where a column of air appears to be cut out of the house and is finished with metal like the roof. How will it look? We have to finish it a bit more to find out, but we’re excited!
And voila! We are suddenly armored against the elements! Now let’s put some skin on these bones and make everything strong and beautiful.
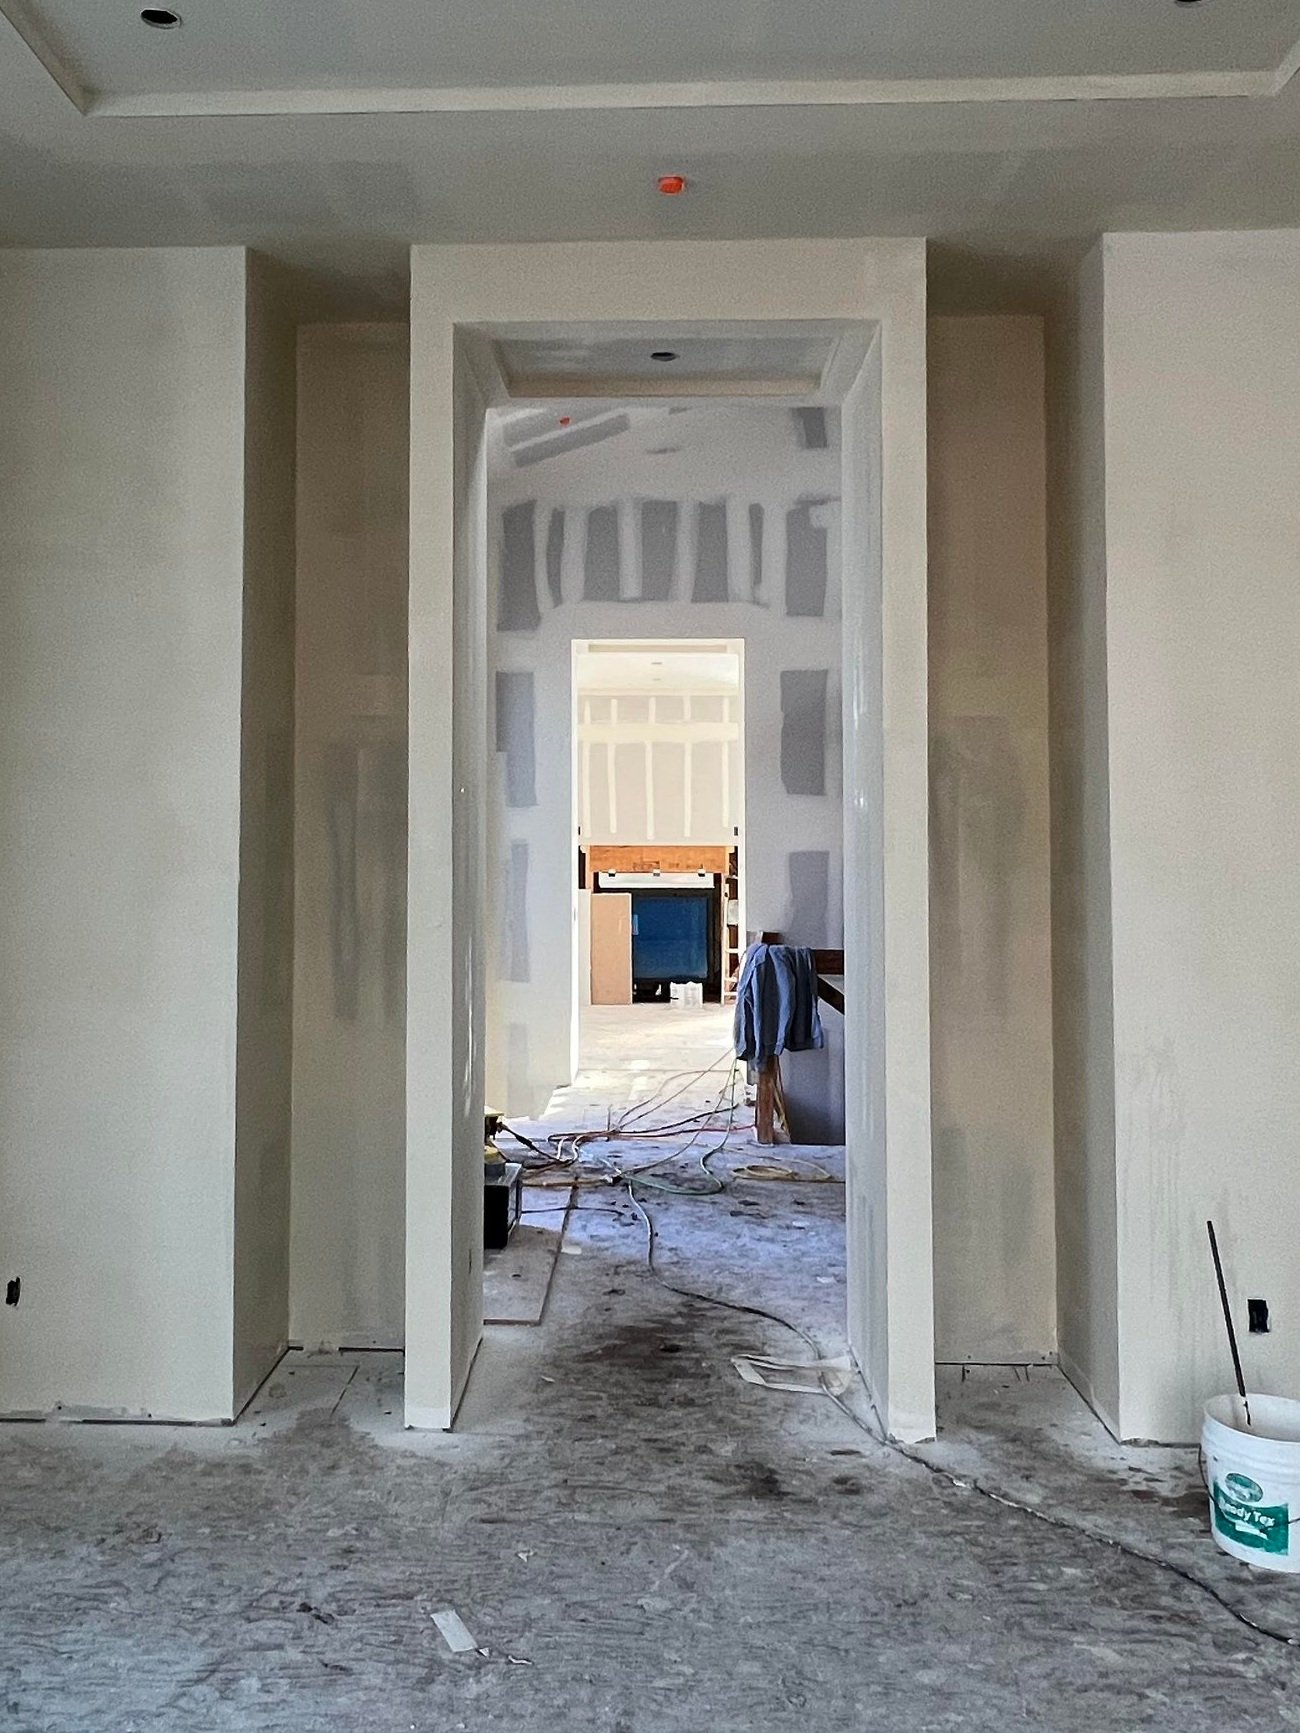
Monumental alabaster, incoming
Drywalling
Finally its time for some finished surfaces! On the inside of the house, the drywalling begins. Drywall, also known as gypsum board, sheetrock, or a bunch of other names, are heavy boards of powdered rock 5/8th of an inch thick. They are made from powdered gypsum, a soft sulfate compound used widely as fertilizer, blackboard chalk, statues (alabaster is a kind of gypsum!), and… walls! Imagine a ton of the chalk dust you had to clean up during grade school detention, all souped up with pixie dust to resist mildew and fire and stick together, squished between a few layers of paper like a giant thin chalk sandwich. This miracle of mass production is what is just below the paint of most walls you’ve seen in Silicon Valley!
Palettes of mass-produced sheetrock get slammed down into every room in the house. Drywallers “hang” the drywall first: they cut it to the right size and screw it into the framing. Almost all walls and ceilings go from being warm wood-colored to spaceship-white nearly overnight. At first it looks pretty crude, but then special tape covers up the seams and kind of white pancake batter-ish substance gets spread all over that. Corners are edged with metal to give a crisp and durable transition. All the screw holes are filled in also. “Taping and mudding” takes us into a pretty smooth-looking wall surface.

Level 0 Drywall complete!

Covering up the seamy side of this project
Getting smoother…

We have attained level 5! Smooth as silk! Paint incoming soon!
But we’re not done. It’s a design choice whether your ceiling is smooth or 1960s popcorn, whether the walls are clean and sleek or textured and bumpy. Modern tastes, and certainly this design, call for smooth “level 5” drywall (level 0 means you don’t even bother taping, whereas level 5 is the Superbowl Champion of perfect walls). So the “mudders” put a “skim coat” of mud everywhere, then sand it down to a flat surface. Maybe many times.
The drywalling process is a symphony of sticky goop and fine particulate matter. It’s a hard time to be on site. But when it is done, flat interior walls, complete with wee penetrations for every electrical outlet, light switch, sconce mount, or any other thing meticulously noted on the interior elevation drawings from over a year ago. We’ll mount stuff to these holes soon enough, but for now: clear perfect walls and ceilings!
Stucco
While the drywallers were working on the inside, a different kind of goopy mucky glop is going to be precisely slapped onto the exterior. I refer, dear reader, to humble yet miraculous stucco. Stucco is fancy concrete. Stir up some ash, water, and sand, throw it at the wall, let it dry, and you have the historical gist of what this stuff is.
Why is stucco so popular? Well, its not in every climate. Stucco is tough, sun-resistant, looks great, and is affordable to apply. But it is not great for high humidity environments. Thus, you don’t see much stucco in the pacific northwest, for example, but a lot in the San Francisco Bay area or L.A. or San Diego. But in areas where it works, it is amazing: tough, flexible, cost-effective, and good at keeping the outside out.
After the waterproofing wraps the house, a lattice of metal wraps that. It looks like a chicken coop. Or a Faraday cage. But this thin metal mesh gets screwed into the framing, gooped over to re-waterproof it, and will help the stucco hold on to the house.

Wire mesh to keep the chickens in and the stucco on. All those penetrations are for the AC refrigerant to enter the house.

This fox is guarding that henhouse

The Brown Coats are coming! Er, actually they came.
Modern high-quality stucco has three layers. First is the “scratch coat”, so named because it looks really scratchy when complete. Workers climb scaffolding and trowel on tremendous amounts of sandy sticky stuff and the finish it in a bumpy manner, then let it dry. Stage two is the “brown coat”, which has a slightly different ratio of ingredients and is finished flat and smooth. Stage three is the thinnest, is called the “finish coat” and can have various nifty things like acrylic fibers or embedded paint inside. Why three coats and not one? One-coat systems exist… sometimes you can even spray “shotcrete” from a kind of flamethrower device to give a quick wall of cement on something… but for flat walls, the tried and true is the way to go.
Wrapping Up
As we reach the end of this edition of our construction blog series, its really starting to look like a completed house. Our building is a sealed envelope against the elements. We are waterproof and insulated and cozy on the inside. The building is an impressive shell with working guts. But we have more work to do; we are proudly standing in a field of mud, and there is not much to differentiate a bedroom from the kitchen from the gym yet. So up next, we start to cover the interior with all the lovely elements that people will see and touch. We’ll start to see floors, cabinets, countertops, paint, tile and stone. The interior design will blossom into what will make future buyers and every visitor fall in love. We’re getting ready to apply the materials!